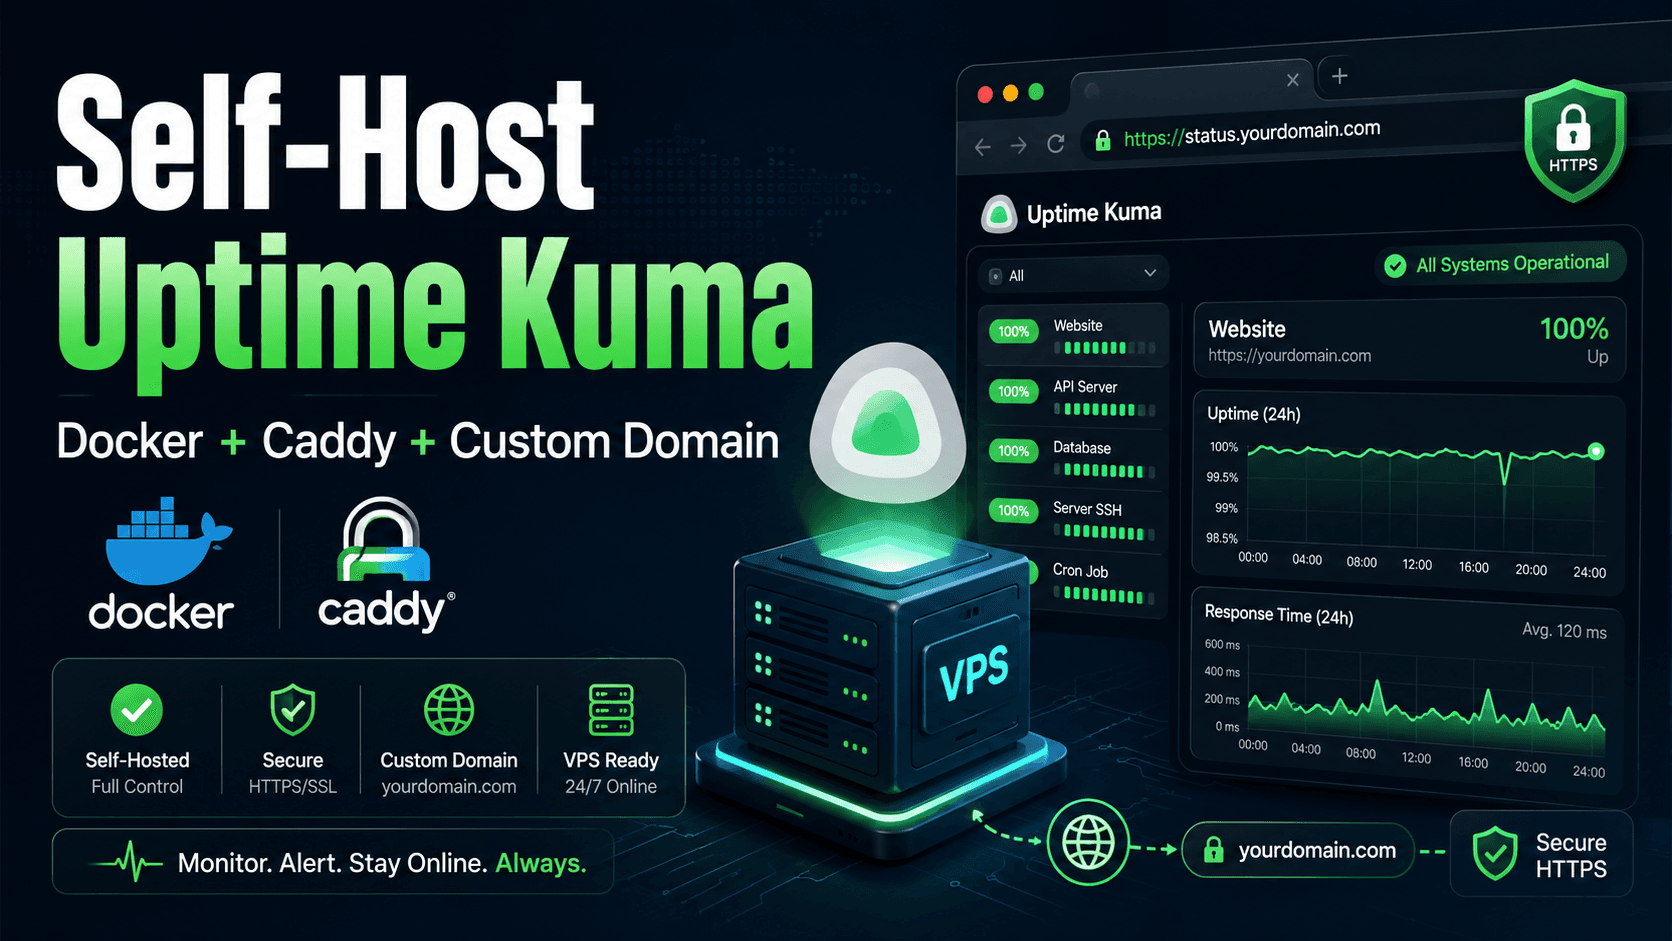
Self-Host Uptime Kuma with Docker and Caddy
Uptime Kuma is a self-hosted alternative to UptimeRobot. It can monitor websites, servers, APIs, ports, SSL certificates, and also provides public status pages.
Snehasis Ghosh
Uptime Kuma is a self-hosted alternative to UptimeRobot. It can monitor websites, servers, APIs, ports, SSL certificates, and also provides public status pages.
This setup will:
- Run Uptime Kuma with Docker
- Store its data permanently
- Keep port
3001private - Use Caddy with a custom domain and HTTPS
Step 1 — Configure DNS
Create an A record for your subdomain:
Type: A
Name: status
Value: YOUR_VPS_IP
Example:
status.example.com
Step 2 — Connect to the VPS
ssh root@YOUR_VPS_IP
Step 3 — Install Docker
For a quick installation, use Docker's convenience script:
curl -sSL https://get.docker.com | sh
Verify the installation:
docker --version
docker compose version
If both commands return version numbers, Docker is ready.
Step 4 — Create the Project Directory
mkdir -p /opt/uptime-kuma
cd /opt/uptime-kuma
Step 5 — Create the Docker Compose File
Create the file:
nano compose.yaml
Add:
services:
  uptime-kuma:
    image: louislam/uptime-kuma:2
    container_name: uptime-kuma
    restart: unless-stopped

    ports:
      - "127.0.0.1:3001:3001"

    volumes:
      - ./uptime-kuma-data:/app/data

    security_opt:
      - no-new-privileges:true
    networks:
      - web

networks:
  web:
    external: true
Caddy config
services:
  caddy:
    image: caddy:latest
    container_name: caddy
    restart: unless-stopped

    ports:
      - "80:80"
      - "443:443"

    volumes:
      - ./Caddyfile:/etc/caddy/Caddyfile:ro
      - caddy_data:/data
      - caddy_config:/config

    networks:
      - web

volumes:
  caddy_data:
  caddy_config:

networks:
  web:
    external: true
Make sure both uses the same network otherwise the cannot access each other
the external network we may not exit for this you can use to create one
docker network create web
Uptime Kuma is bound to:
127.0.0.1:3001
This prevents port 3001 from being directly exposed to the internet.
The data is stored permanently in:
/opt/uptime-kuma/uptime-kuma-data
Step 6 — Create the Caddyfile
nano Caddyfile
Add:
status.example.com {
    reverse_proxy uptime-kuma:3001
}
Replace status.example.com with your actual domain.
Caddy uses host networking so it can access Uptime Kuma through 127.0.0.1:3001.
Step 7 — Configure UFW
Docker can bypass some UFW rules when ports are published publicly. That is why Uptime Kuma is bound only to 127.0.0.1.
Allow SSH, HTTP, and HTTPS:
ufw allow OpenSSH
ufw allow 80/tcp
ufw allow 443/tcp
ufw allow 443/udp
ufw enable
Do not open port 3001.
Check the firewall:
ufw status
Step 8 — Start the Containers
docker compose up -d
Check their status:
docker compose ps
View logs:
docker compose logs -f
Step 9 — Open Uptime Kuma
Visit:
https://status.example.com
Create your administrator account and add your website or server monitors.
Create a Public Status Page
Inside Uptime Kuma:
- Open Status Pages.
- Click New Status Page.
- Select the monitors you want to show.
- Choose a page slug.
- Save the page.
For example, with the slug public, the page will be:
https://status.example.com/status/public
Update Uptime Kuma
cd /opt/uptime-kuma
docker compose pull
docker compose up -d
docker image prune -f
Your data will remain safe inside:
./uptime-kuma-data
Final Configuration
Uptime Kuma remains private:
127.0.0.1:3001
Caddy provides public access through:
https://status.example.com
Only ports 80 and 443 need to be publicly accessible.