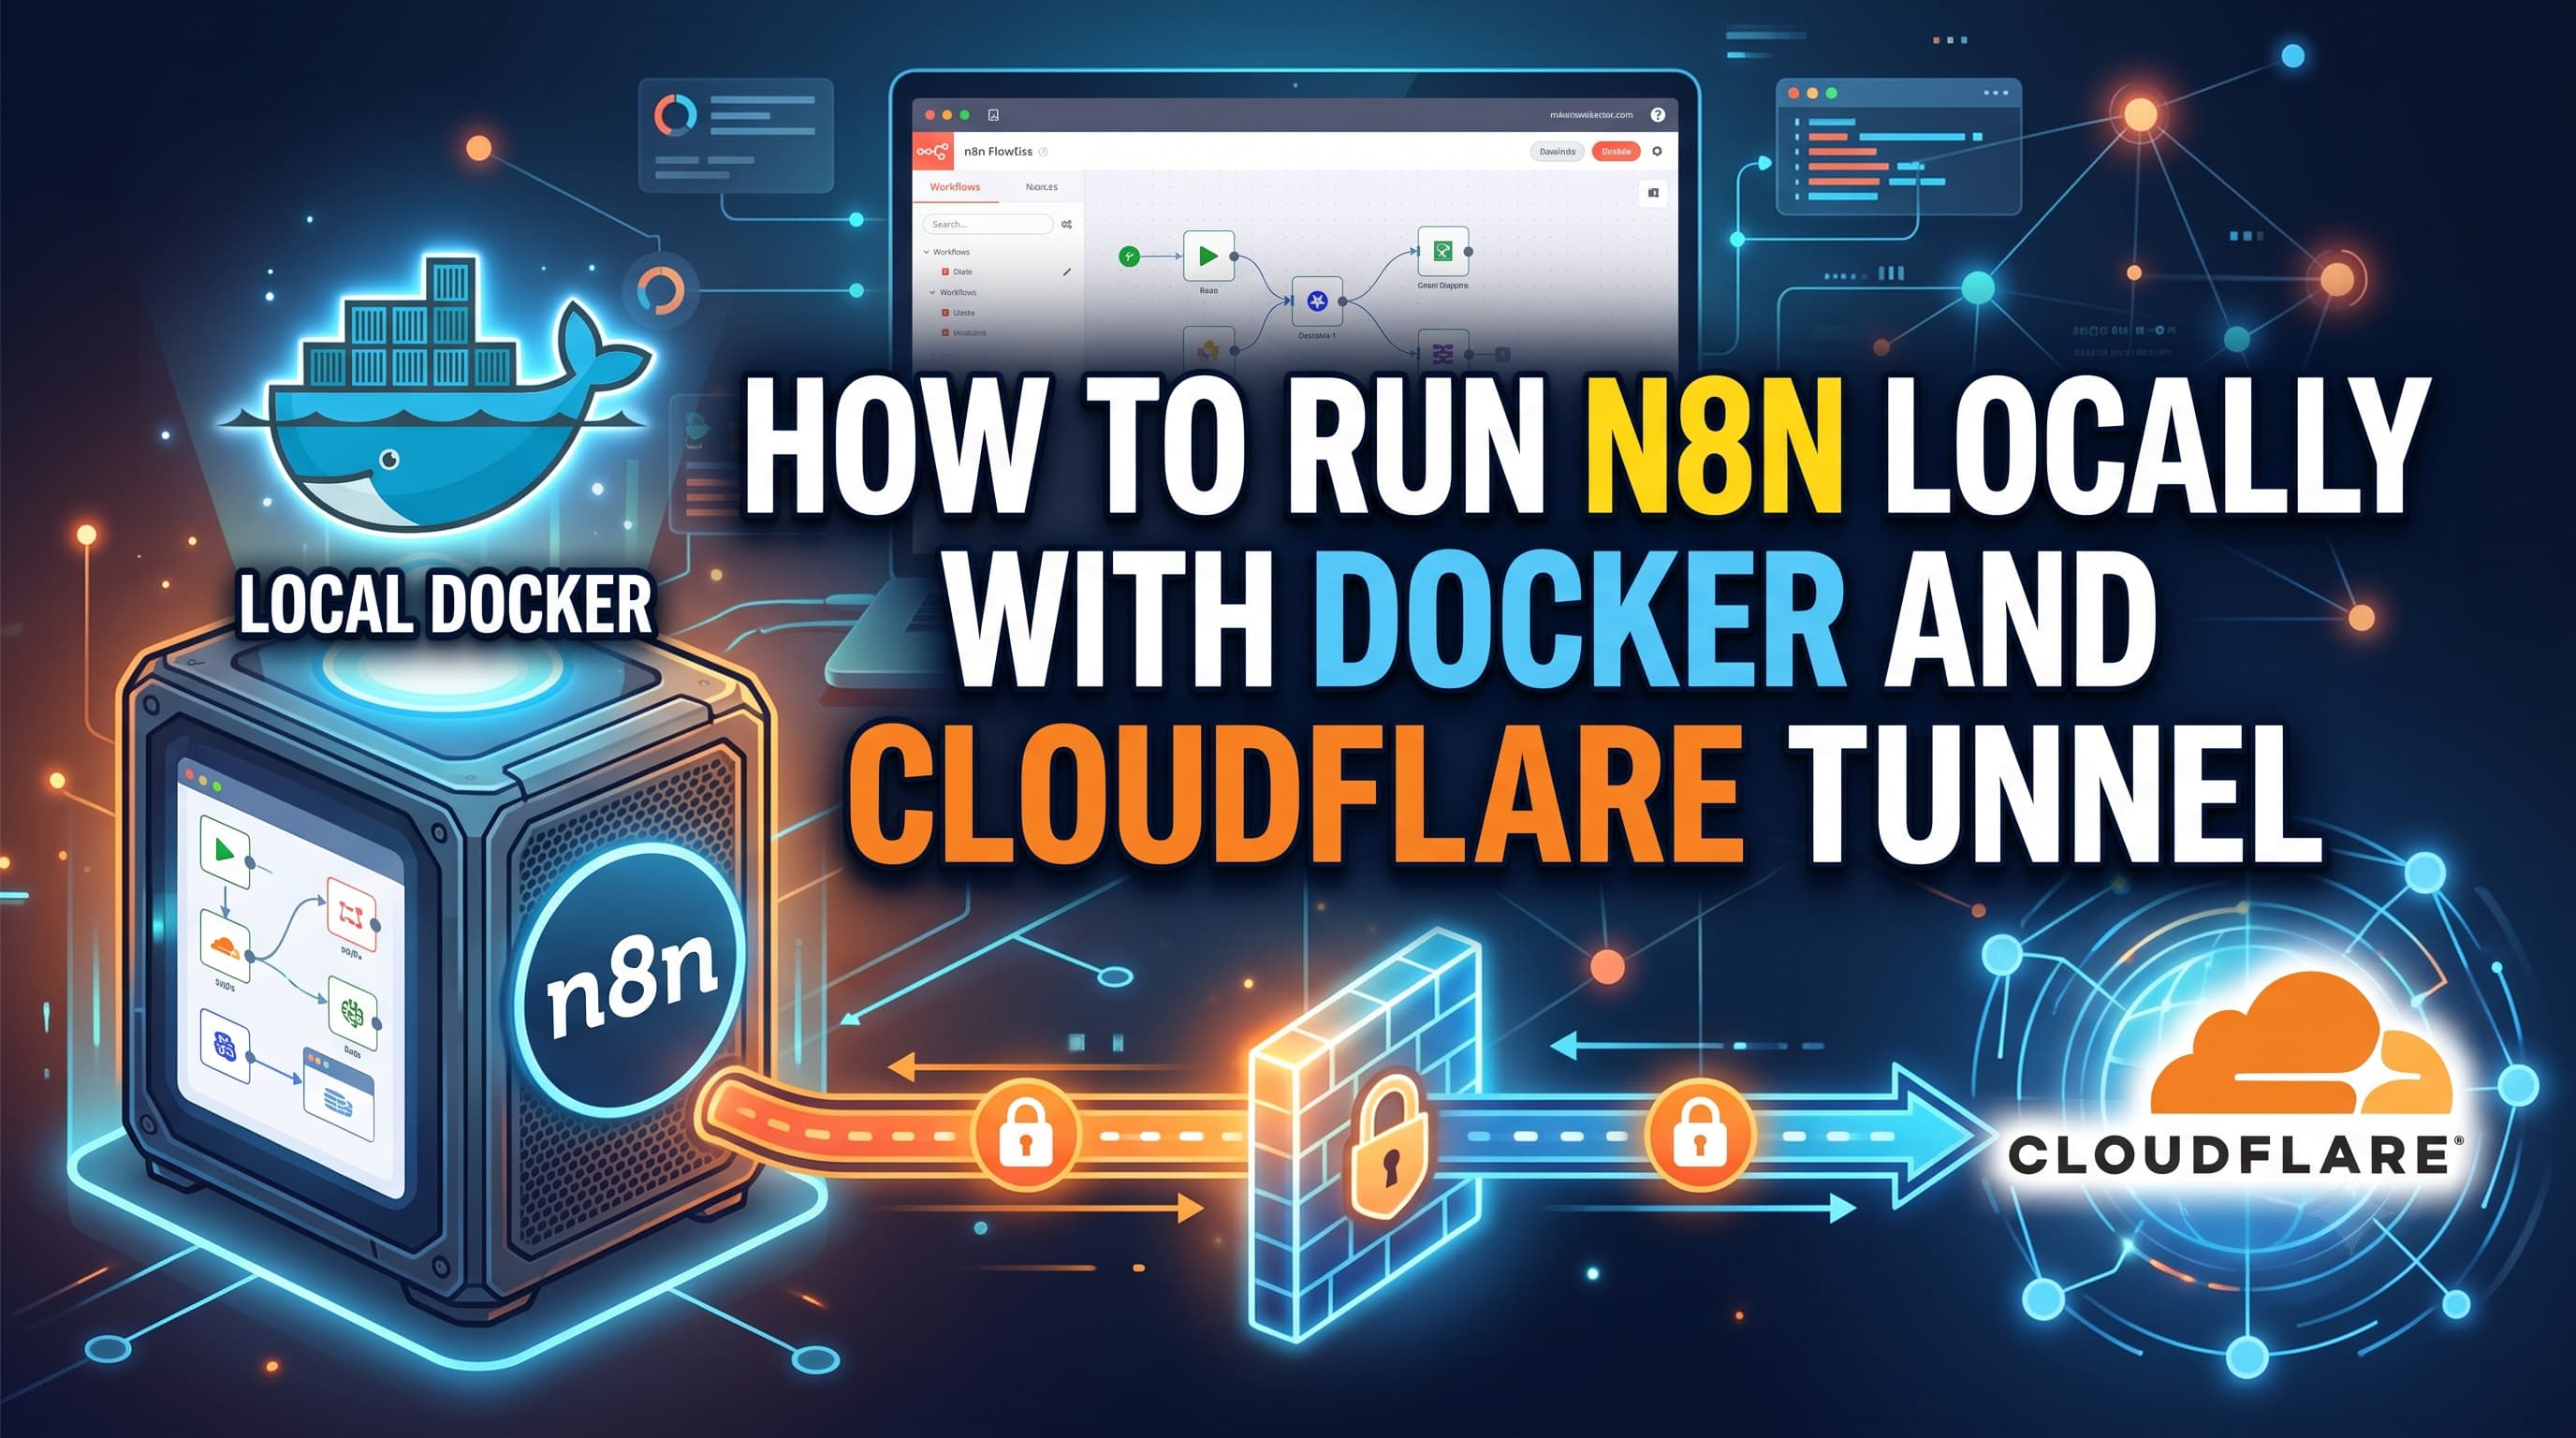
🚀 How to Run n8n Locally with Docker and Cloudflare Tunnel (No Port Forwarding Required)
Want to run n8n on your local machine and access it securely from anywhere on the internet without exposing your home network or configuring port forwarding?
Snehasis Ghosh
With Cloudflare Tunnel, you can securely publish your local n8n instance over HTTPS in just a few minutes. Cloudflare handles SSL certificates, encrypted connections, and public access—without requiring a public IP address.
In this guide, you'll learn how to run n8n locally using Docker Compose and Cloudflare Tunnel.
Why Use Cloudflare Tunnel?
Cloudflare Tunnel creates a secure outbound connection from your computer to Cloudflare's network.
Benefits include:
- ✅ No port forwarding
- ✅ No public IP required
- ✅ Automatic HTTPS
- ✅ Secure encrypted connection
- ✅ Works behind NAT and CGNAT
- ✅ Easy to set up
- ✅ Perfect for development and small production workloads
Architecture
                Internet
                    │
                    ▼
          Cloudflare Network
                    │
                    ▼
          Cloudflare Tunnel
                    │
                    ▼
      Docker Container (cloudflared)
                    │
                    ▼
           Docker Container (n8n)
                    │
                    ▼
            Local Docker Volume
Prerequisites
Before you begin, you'll need:
- A Cloudflare account
- A domain added to Cloudflare
- Docker installed
- Docker Compose installed
Verify Docker is installed:
docker --version
docker compose version
Step 1 — Add Your Domain to Cloudflare
If you haven't already:
- Create a Cloudflare account.
- Add your domain.
- Update your domain's nameservers to Cloudflare.
- Wait for the domain to become active.
Step 2 — Create a Cloudflare Tunnel
-
Log in to the Cloudflare Dashboard.
-
Open the sidebar on the lef
-
Open:
Networks
→ Tunnels
-
Click: Create Tunnel
-
Give your tunnel a name, for example:
n8n-local
Cloudflare will generate a Tunnel Token.
It looks similar to:
eyJhIjoiMjk3NzQ5Zm...
Copy this token—you'll use it in your Docker Compose file.
Step 3 — Configure a Public Hostname
Inside your tunnel configuration, create a Public Hostname.
Example:
| Setting | Value |
|---|---|
| Subdomain | n8n |
| Domain | yourdomain.com |
| Type | HTTP |
| URL | n8n:5678 |
Your public URL will become:
https://n8n.yourdomain.com
Cloudflare will automatically provision an SSL certificate.
Step 4 — Create the Project Directory
mkdir n8n
cd n8n
Step 5 — Create docker-compose.yml
Create the compose file:
nano docker-compose.yml
Paste the following configuration:
version: '3.8'

services:
  n8n:
    image: docker.n8n.io/n8nio/n8n
    container_name: n8n
    restart: always

    ports:
      - "5678:5678"

    environment:
      - N8N_HOST=n8n.yourdomain.com
      - N8N_PORT=5678
      - N8N_PROTOCOL=https
      - NODE_ENV=production
      - WEBHOOK_URL=https://n8n.yourdomain.com/

    volumes:
      - n8n_data:/home/node/.n8n

  cloudflared:
    image: cloudflare/cloudflared:latest
    container_name: cloudflared
    restart: always

    command: tunnel --no-autoupdate run

    environment:
      - TUNNEL_TOKEN=YOUR_CLOUDFLARE_TUNNEL_TOKEN_HERE

volumes:
  n8n_data:
Replace:
n8n.yourdomain.comYOUR_CLOUDFLARE_TUNNEL_TOKEN_HERE
with your own values.
Step 6 — Start Everything
Launch both containers:
docker compose up -d
Docker will automatically download the required images.
Step 7 — Verify the Containers
Check that everything is running:
docker ps
You should see something similar to:
n8n
cloudflared
Step 8 — Open n8n
Visit:
https://n8n.yourdomain.com
On the first launch, n8n will prompt you to create the owner account.
After that, you're ready to start building workflows.
Updating n8n
To upgrade to the latest version:
docker compose pull
docker compose up -d
Your workflows will remain intact because they are stored in a Docker volume.
Viewing Logs
View logs for all services:
docker compose logs -f
View only n8n logs:
docker logs -f $(docker ps -qf "ancestor=docker.n8n.io/n8nio/n8n")
View Cloudflare Tunnel logs:
docker compose logs -f cloudflared
Restart the Stack
docker compose restart
Stop Everything
docker compose down
Your workflows and credentials will remain safe in the persistent Docker volume.
Backup Your Workflows
Your n8n data is stored in the Docker volume:
n8n_data
Create a backup:
docker run --rm \
-v n8n_data:/volume \
-v $(pwd):/backup \
busybox \
tar czf /backup/n8n-backup.tar.gz /volume
Regular backups are recommended before upgrades or major changes.
Advantages of Cloudflare Tunnel
Compared to exposing your local server directly:
| Traditional Port Forwarding | Cloudflare Tunnel |
|---|---|
| Requires opening router ports | No router changes |
| Needs a public IP | Works behind NAT/CGNAT |
| SSL setup is manual | Automatic HTTPS |
| More exposed to the internet | Encrypted outbound connection |
| Can be blocked by ISPs | Usually works without issues |
Troubleshooting
Tunnel isn't connecting
Check the logs:
docker compose logs cloudflared
Ensure your TUNNEL_TOKEN is correct and the tunnel is active in the Cloudflare dashboard.
n8n isn't loading
Verify the n8n container:
docker compose logs n8n
Ensure the N8N_HOST and WEBHOOK_URL values match your public hostname exactly.
Webhooks aren't working
Double-check:
WEBHOOK_URLN8N_HOST- Public Hostname configuration in Cloudflare
- Tunnel status is healthy
Most webhook issues are caused by mismatched URLs.
Check Running Containers
docker ps
Security Tips
For a safer deployment:
- Keep Docker updated.
- Protect your Cloudflare account with two-factor authentication (2FA).
- Store your tunnel token securely.
- Use a strong password for your n8n owner account.
- Back up your workflows regularly.
- Restrict access using Cloudflare Zero Trust policies if needed.
Final Thoughts
Running n8n locally with Cloudflare Tunnel is one of the easiest and most secure ways to make your automation workflows accessible from anywhere. You don't need a VPS, a public IP address, or router configuration—Cloudflare handles secure HTTPS access for you.
This setup is ideal for developers, hobbyists, and small teams who want the flexibility of self-hosting while keeping deployment simple. As your automation needs grow, you can later migrate the same Docker-based setup to a VPS with minimal changes.